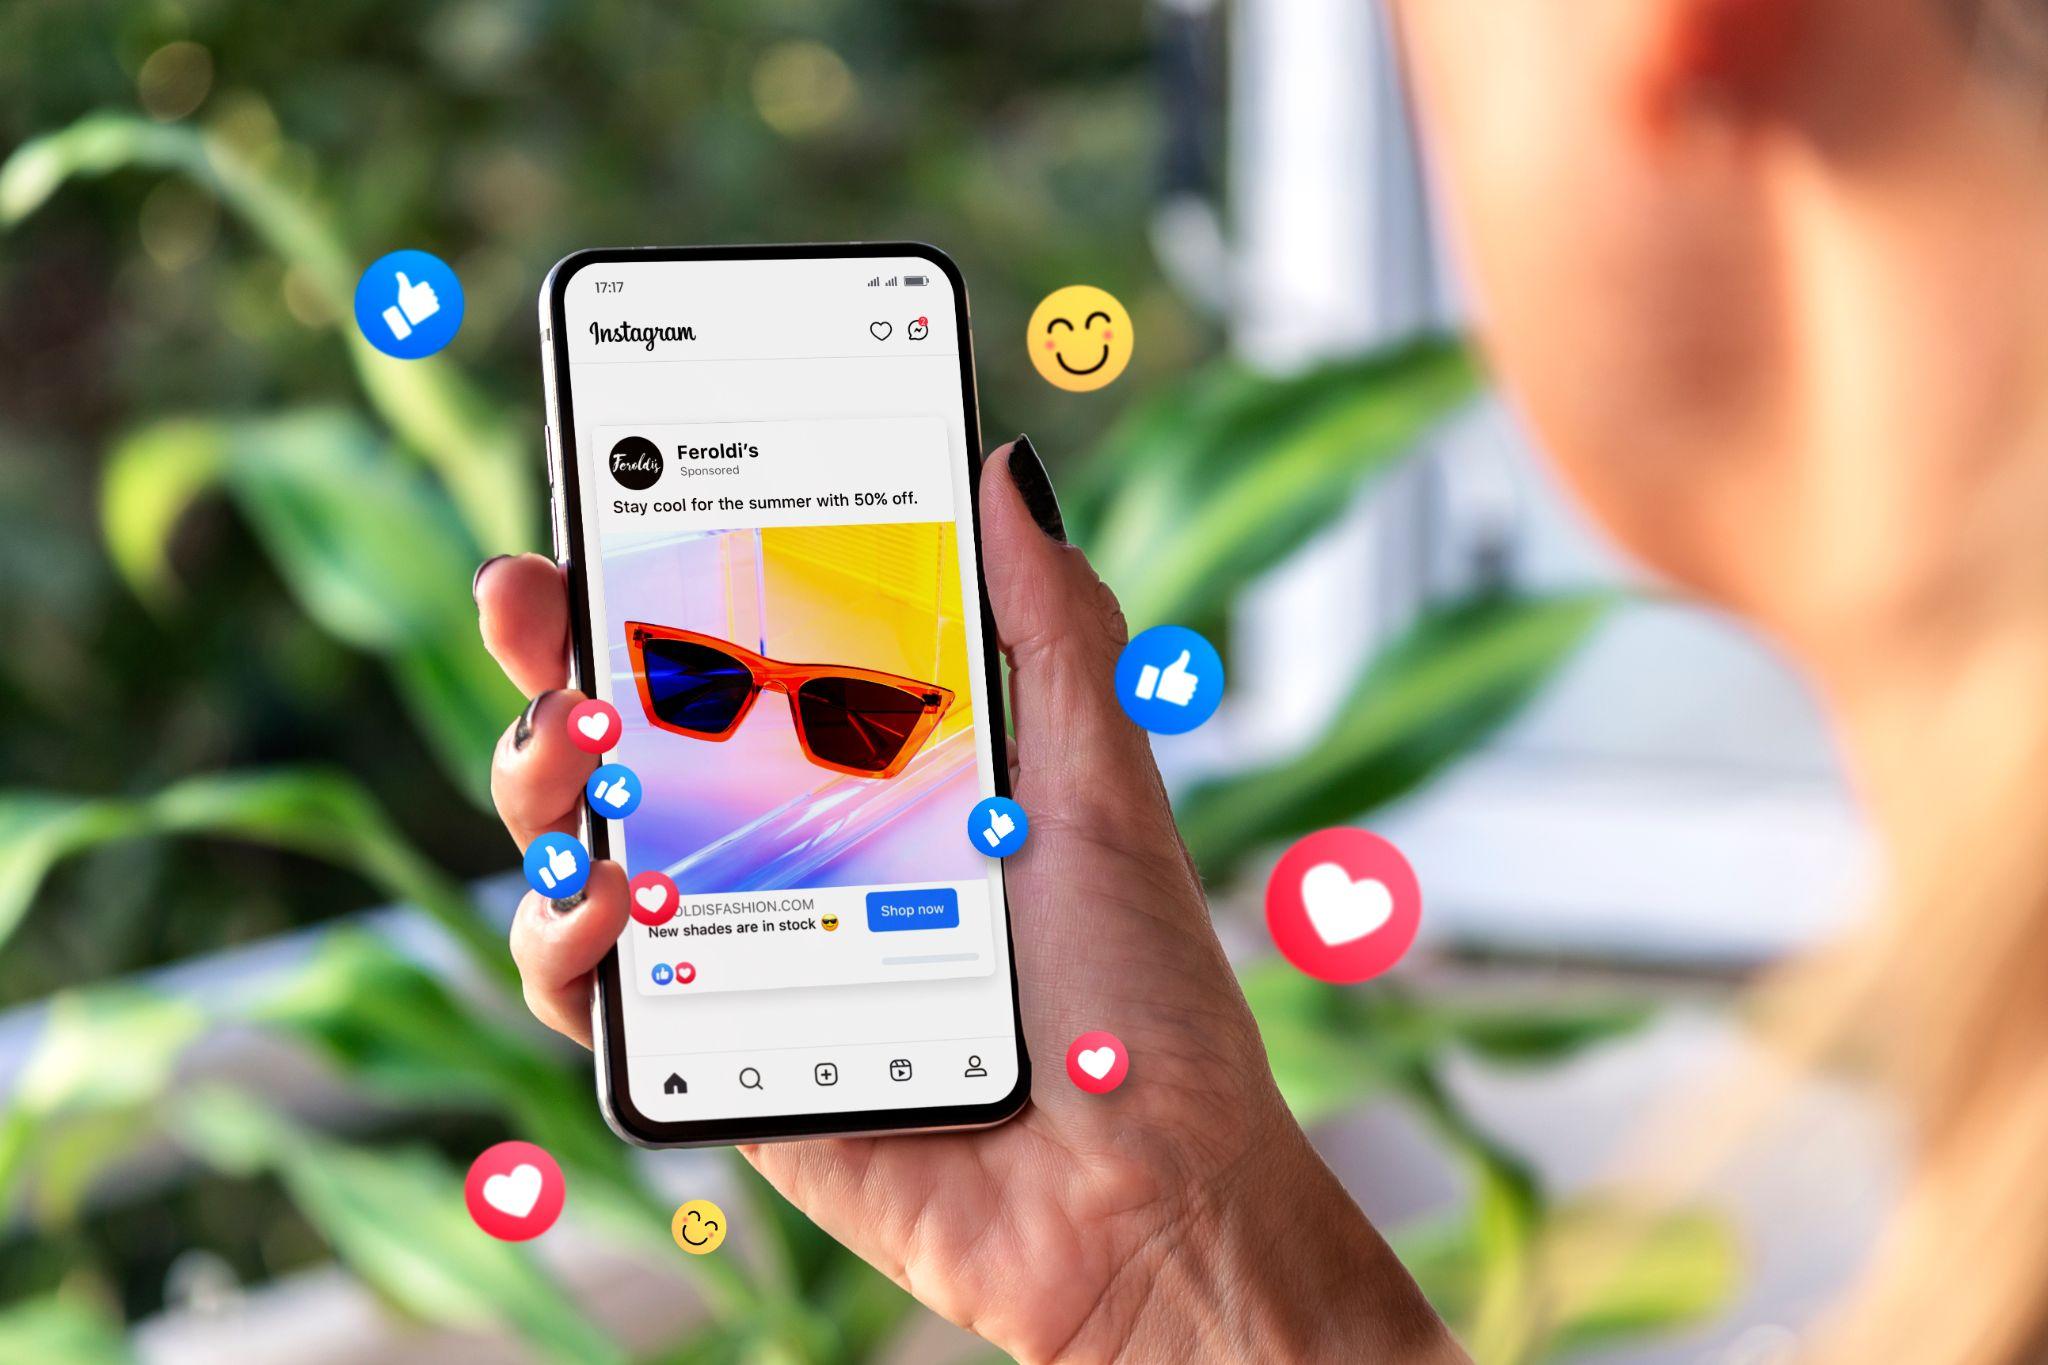
Instagram is one of the leading social media platforms for selling products, thanks to its visual-centric format. The platform has exploded in popularity and now boasts two billion monthly active users.
Instagram has a higher retail engagement rate than other major social media platforms, and users are more likely to interact with content. That means more potential conversions and sales for businesses who use the platform. Instagram’s Explore feature also makes it easier for potential customers to discover new products.
Businesses can set up stories and shoppable Instagram posts with Shopify Instagram ads, making it easy for users to purchase products directly from the app. This seamless shopping experience reduces friction in the buying process, which means you’re less likely to lose customers at the end of the sales funnel.
The Shopify-Instagram integration makes it easy for businesses to manage their inventory and sales channels efficiently. Below we offer a step-by-step guide on how to connect Shopify to Instagram.
Here’s how to connect Shopify to Instagram, step-by-step:
If you don’t already have an Instagram Business account, you’ll need to set one up. You can also switch your personal Instagram account to a “professional” (i.e., Business) account.
To set up a new Business account:
Open the Instagram app.
Go to your profile and tap the three lines in the top right corner.
Select “Settings” > “Account” > “Switch to Professional Account.”
Choose “Business” and follow the prompts to set up your business profile.
In the Instagram app, go to your profile and tap “Edit Profile.”
Under “Public Business Information,” select “Page.”
Choose the Facebook Page you want to connect to your Instagram account.
Go to your Facebook Page and click “Shop” on the left-hand menu.
Follow the setup instructions to create your shop, including adding payment methods and product information.
In your Shopify admin, go to “Sales Channels” and click the “+” button.
Select “Facebook” and follow the prompts to connect your Facebook account.
Once connected, repeat the process for “Instagram.”
In the Instagram app, go to your profile and tap the three lines in the top right corner.
Select “Settings” > “Business” > “Shopping.”
Follow the prompts to submit your account for review. This process can take a few days.
Once your account is approved, go to your Instagram post or story creation screen.
Add your photo or video, then tap “Tag Products.”
Select the product from your Shopify catalog to tag in your post or story.
Go to your Shopify admin and navigate to “Settings” > “Payments.”
Ensure that your payment methods are set up to support Instagram checkout.
In the Instagram app, update your checkout method to link directly to your Shopify store or use Instagram’s native checkout feature if available.
Instagram is one of the best platforms for retail sellers. Here’s why:
Instagram’s visual-centric format makes it the ideal platform for featuring products with high-quality photos and engaging videos. This is especially helpful for visual industries like fashion, beauty, home decor, and food. Using Instagram’s creative features, businesses can highlight product attributes and tell a compelling story.
Instagram boasts higher engagement rates than other social media platforms, with users more likely to like, comment, and share content. This increased interaction drives sales and repeat business. Features like Stories and Live videos provide real-time engagement opportunities.
Instagram’s Explore feature ensures products reach a broader audience beyond immediate followers. The Explore page personalizes content based on user interests, increasing the likelihood of product discovery. Using a mix of popular, niche, and branded hashtags enhances visibility and targeting.
Instagram’s built-in shopping features allow users to purchase products directly from the app through shoppable Instagram posts and stories. The Instagram Shop tab centralizes available products, improving the shopping experience, while Instagram Checkout streamlines the buying process, reducing cart abandonment and driving sales.

Activating Shopify’s Instagram sales channel allows you to directly showcase and sell your products on Instagram, enhancing your social commerce capabilities. Here’s a detailed guide on how to set it up:
Business Account: Ensure that your Instagram account is a business account. If it’s not, switch to a business account by going to your profile, tapping the three lines in the top right corner, selecting “Settings,” then “Account,” and finally “Switch to Professional Account.”
Facebook Page: Your Instagram business account must be connected to a Facebook Page. This connection is necessary because Instagram Shopping is managed through Facebook’s Commerce Manager.
Open the Instagram app and go to your profile.
Tap “Edit Profile,” then “Public Business Information,” and select “Page.”
Choose the Facebook Page you want to connect. If you don’t have one, you’ll need to create one.
Go to your Facebook Page and click on the “Shop” tab on the left-hand side.
Follow the setup instructions to create your shop, including adding a business address, selecting a checkout method, and adding your products.
In your Shopify admin, navigate to “Sales Channels” and click the “+” button to add a new sales channel.
Select “Facebook” from the list and click “Add Channel.”
Follow the prompts to connect your Facebook account to Shopify, ensuring you give the necessary permissions.
After connecting your Facebook account, go to “Sales Channels” in Shopify again and select “Instagram.”
Follow the setup instructions to connect your Instagram account. Ensure you have administrative access to the Facebook Page connected to your Instagram business profile.
In the Instagram app, navigate to your profile and tap the three lines in the top right corner.
Select “Settings,” then “Business,” and finally “Shopping.”
Follow the prompts to submit your account for review. This review process typically takes a few days. Instagram will notify you once your account is approved.
Ensure your products are synced between Shopify and Facebook. Go to your Shopify admin, navigate to “Products,” and make sure your products are available on the Facebook channel.
Your product catalog will automatically sync to Instagram once it’s available on Facebook.
Once Instagram Shopping is enabled, you can start tagging products in your posts and stories. Create a new post or story, add your content, and tap “Tag Products.”
Select the product from your catalog to tag it in your post or story.
Verify Product Availability: Double-check that all your products are properly synced and available on Instagram.
Test Shopping Features: Make a test post or story with tagged products to ensure the shopping features are working correctly.
Instagram Shoppable Posts offer a seamless way for businesses to sell products directly from their Instagram feed. This feature allows users to click on product tags within posts to view product details and make purchases. Here’s a comprehensive guide on how to use Instagram Shoppable Posts effectively:
Business Account: Confirm that your Instagram account is a business account. If it’s not, switch to a business account by going to your profile, tapping the three lines in the top right corner, selecting “Settings,” then “Account,” and finally “Switch to Professional Account.”
Facebook Page and Shop: Your Instagram business account must be connected to a Facebook Page with a shop. This setup is managed through Facebook’s Commerce Manager.
Product Catalog: Ensure your product catalog is linked to Instagram through Shopify or directly via Facebook.

Upload a Photo or Video: Open the Instagram app and tap the “+” icon to create a new post. Choose a photo or video that best showcases your product.
Add Captions and Filters: Edit your photo or video with filters and write a compelling caption to engage your audience.
Tagging Products: Before sharing your post, tap on “Tag Products” (located below the caption field). This option will only appear if you have Instagram Shopping enabled.
Select Products: Tap on the part of the photo where you want to add a product tag. A search bar will appear. Type in the name of the product you want to tag and select it from the list that appears.
Add Multiple Tags: You can tag multiple products in a single post, making it easy to highlight several items at once.
Finalize and Share: Once you’ve tagged your products, review your post to ensure everything looks perfect. Tap “Share” to publish your shoppable post.
Monitor Performance: After sharing, you can monitor the performance of your shoppable posts using Instagram Insights. This tool helps you track engagement, reach, and sales generated from your posts.
Add to Stories: In addition to posts, you can tag products in your Instagram Stories. To do this, create a new story by swiping right from your feed or tapping your profile picture.
Tag Products in Stories: Add a photo or video to your story. Tap the sticker icon at the top, select the “Product” sticker, and choose the product from your catalog.
Enhance Engagement: Use Instagram’s interactive features like polls, questions, and GIFs to make your shoppable stories more engaging.
Shopping Tab on Profile: Once you’ve created shoppable posts, a shopping tab will appear on your Instagram profile. This tab allows followers to browse all your tagged products in one place.
Product Pages: Each tagged product in your posts and stories will link to a detailed product page, where users can view more images, descriptions, prices, and a “Shop Now” button to make a purchase.

These tips will help you make your shoppable posts even more enticing.
The social media marketing experts at Socialfly are here to help you optimize your Instagram shopping experience. We’re digital natives who know how to get results on social. We can help you create tailored Shopify Instagram ads to drive more sales.
Check out our case studies and get in touch with us to learn more about our services and how we can support your business.